|
Lauri Miller from Miller Compound Honey Bees and Agriculture uses and promotes partial sheets of plastic foundation in her hives, and while we've had good success with foundationless frames, we wanted to try her approach with partial foundation to see how the frames stand up in the radial extractor. Benefits to partial foundation frames include:
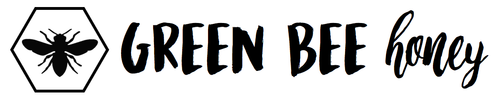
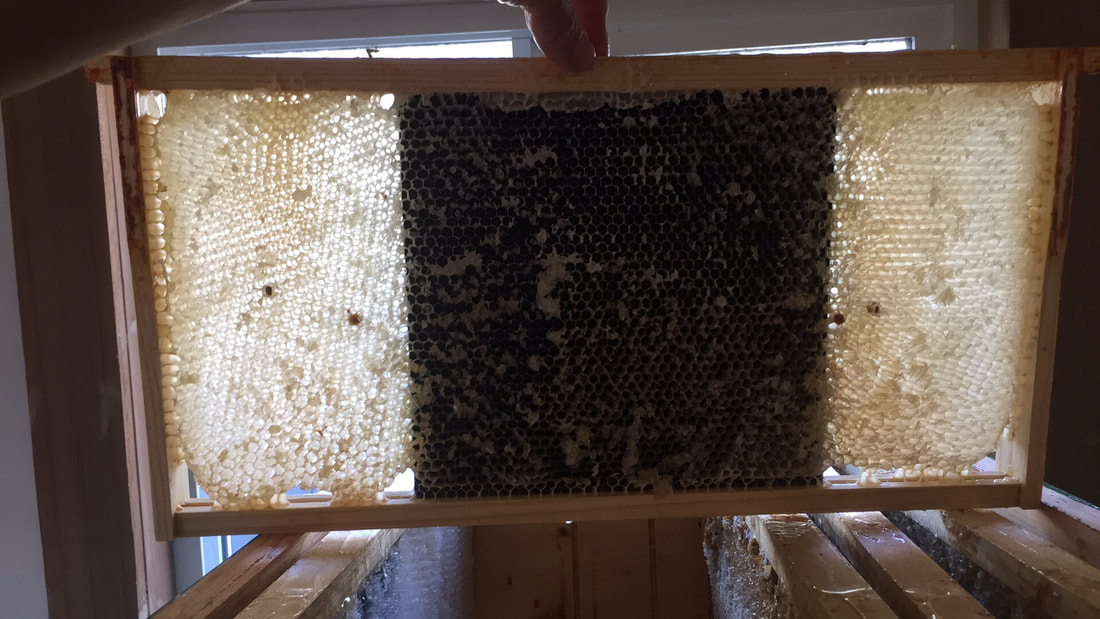
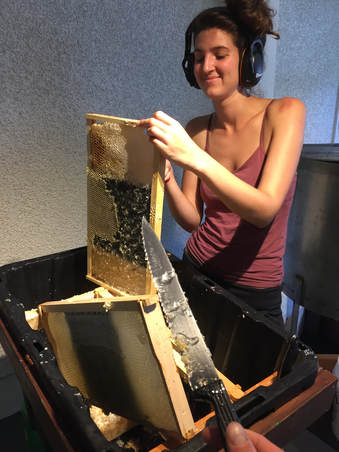
 A new foundationless frame being built on the fireweed nectar flow. Foundationless frames require a little extra care and attention, but we really like letting our bees build natural comb. These frames are so beautiful but don't hold up well in the extractor or on their way down the bumpy road (some do) but they can make such great cut-comb or be used for crush and strain. The concept of partial foundation frames is pretty simple, the rigid plastic foundation that comes cut to fit standard langstroth equipment is cut in half, or thirds and installed in the wooden frame as normal. We used a chop saw to cut small stacks of the foundation very slowly with a sharp blade so as not to shatter the plastic- allowing the blade to speed up all the way before beginning the cuts seemed to help. The installation of the partial sheets is very fast and easy, but we do have some recommendations for installation in the hive and for preparing a hive for any kind of foundationless removable comb.
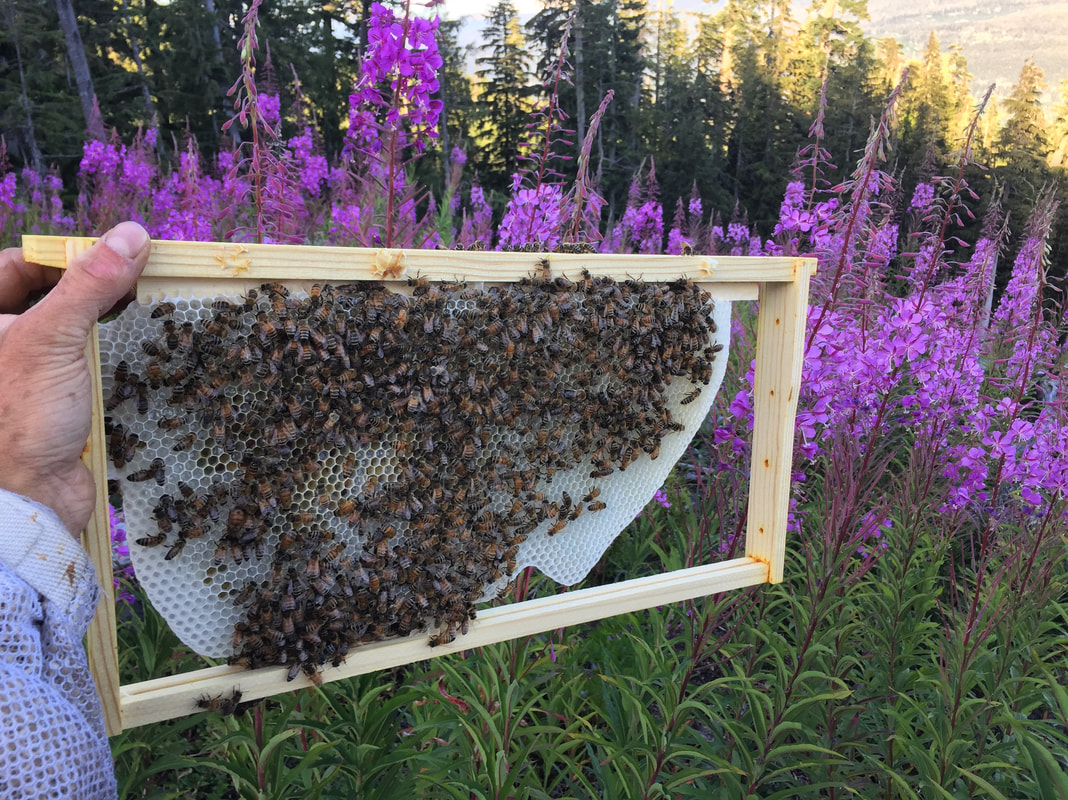
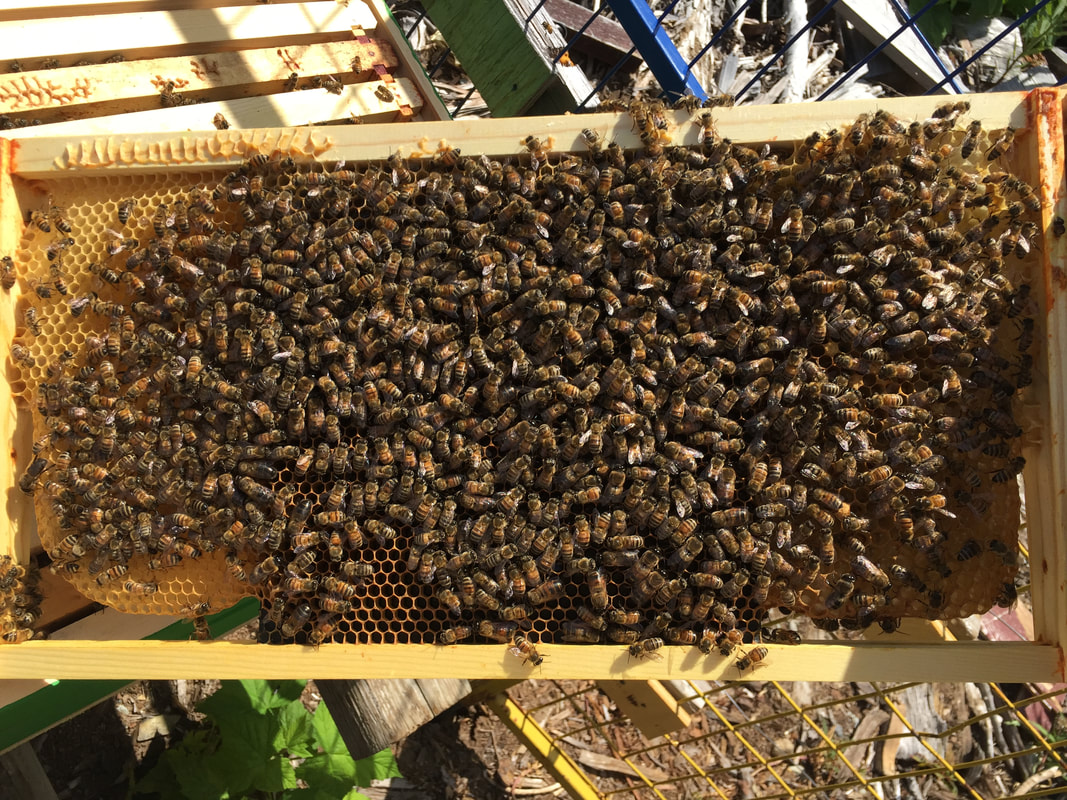
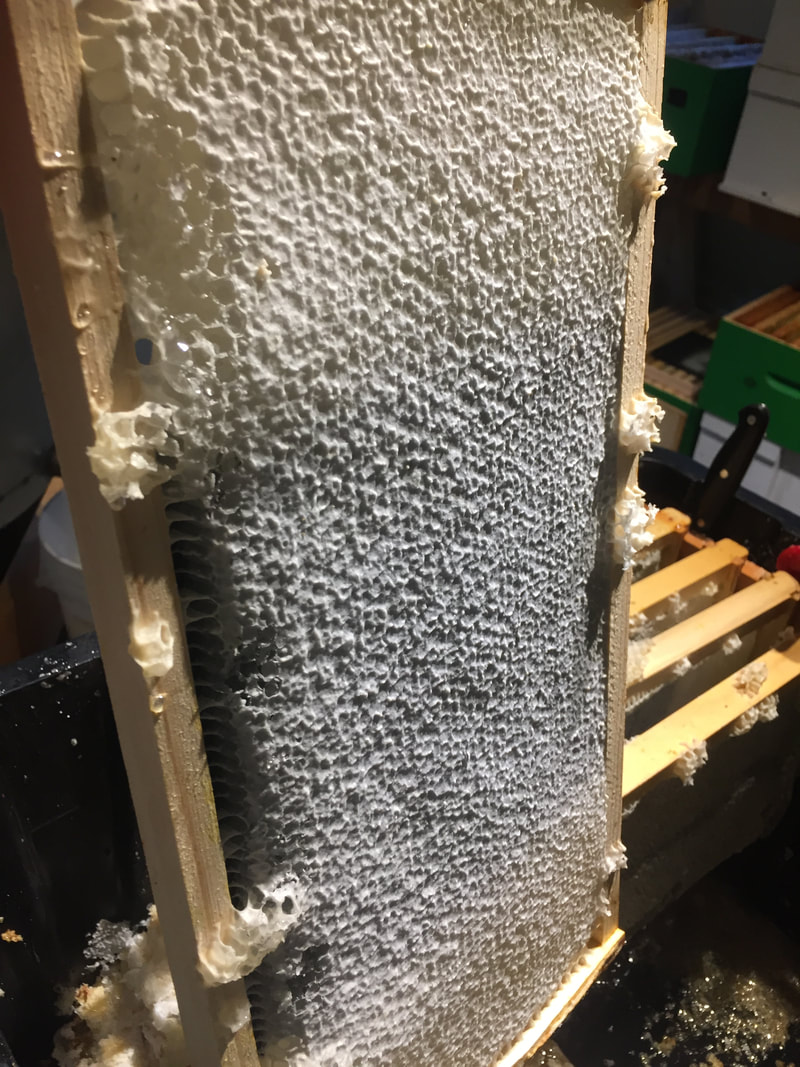
Before introducing any kind of foundationless options for our bees, we do our best to level the hive or stand. We learned the hard way that our bees are as subject to the laws of gravity as we are, and any new comb being drawn will typically hang straight up and down. If your hive is a little bit slanted from one side to the other (forward or back is fine) the bees will build comb straight downwards, coming away from (and sometimes disconnected from) the bottom and sides of the frame. If your comb isn't hanging straight in the frame it can make inspections very difficult or damaging, and it will affect every other new frame that it is placed next to. (We actually try to slope our hives a bit forwards to help with drainage, but are now very careful to avoid side to slide slanting! There were some very angry hive notes from that day...) 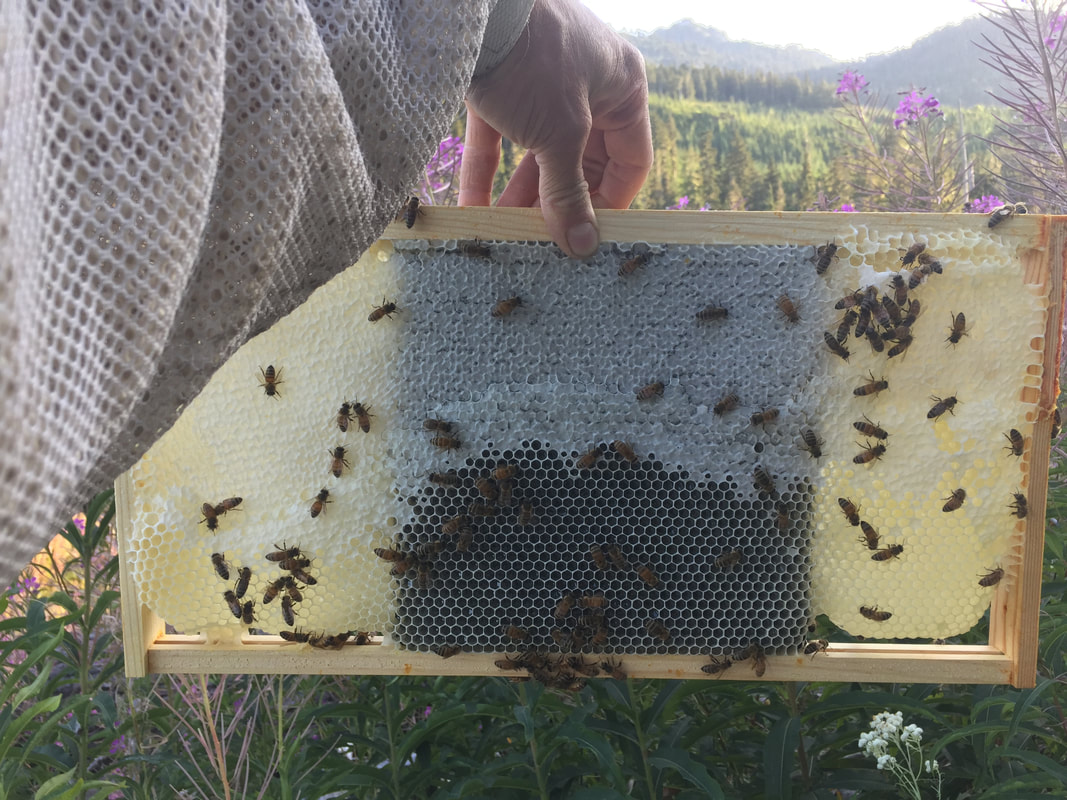 Here is a new partial foundation frame that was built on the fireweed flow and is just being finished by our bees. Handling frames like this also require some consideration of temperature and gravity. Consider how heavy the two foundationless pieces of comb are on either side of the foundation, and looking at how well they are or are not attached to the frame side bars can give you some indication of how best to handle a frame like this. If its really hot out, all of that new wax will be slightly more prone to sagging and breaking. Generally, free-drawn comb is very strong if held upright, but if you're accustomed to flipping frames back and forth (the bottom of the frame towards you for example) then all of that weight is distributed much differently and the comb can crack and break off. Tipping the frame from left to right or even upside down is usually just fine, but habits can be hard to break and some folks have told us they get too frustrated by more delicate comb during inspections or extracting. We are not a large scale honey outfit, and we try to make our inspections as calmly and carefully as we can- these partial foundation frames don't change much for our hive manipulations, as long as we have taken the time to install them carefully as I will explain below.  Here is a frame that was made using a 1/3 cut sheet of plastic foundation, in the brood nest of a hive rather than the honey super. Considerations for installing these frames into your hive body...So if you'd like to try this out please let us save you a little bit of headache with a few simple considerations:
 We liked using these frames in the broodnest too, the girls didn't seem to mind at all. There tend to be a bunch more passageways between combs with any amount of foundationless comb- something that we think might be important in our typically cold dark winters when it may be difficult for bees to stray too far from the cluster to retrieve food. 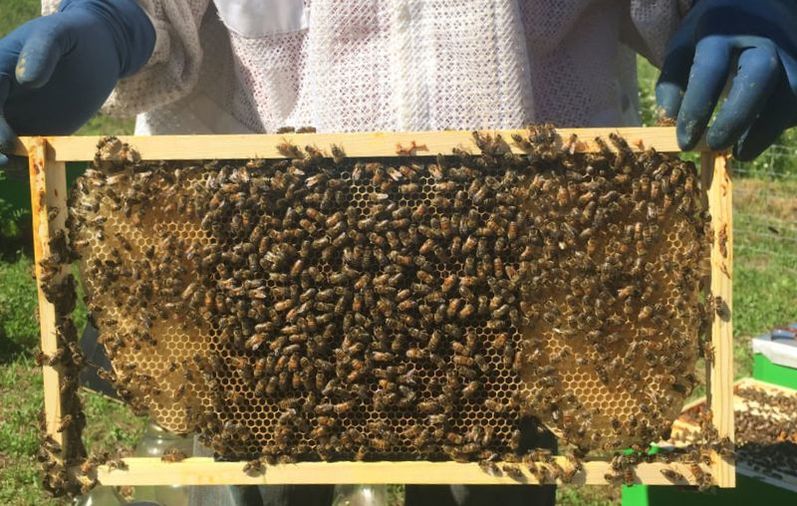 Another good frame in the making- note the cells are all worker size on this frame Overall we were pretty happy with these partial foundation frames, and will build some more next year. We liked the option of cutting out comb for specialty comb honey jars as they sell well in our region. As beekeepers that value foundationless frames for various reasons, but transport their hives on bumpy roads and use a radial extractor, this little equipment hack seems to be good middle ground. 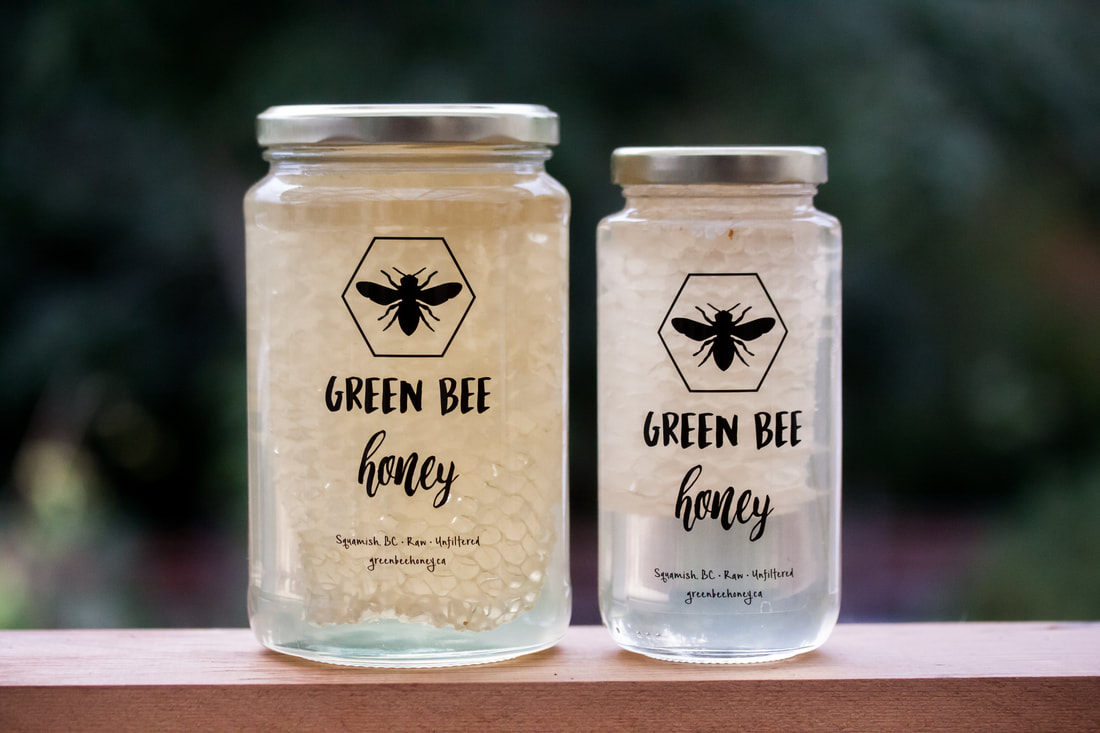 Some of our 2017 cut comb fireweed honey  Our 2017 fireweed honey and Squamish Highlands honey
1 Comment
|
AuthorMichalina and Darwyn are beekeepers on Vancouver Island, BC, Canada. Archives
January 2018
Categories |

 RSS Feed
