|
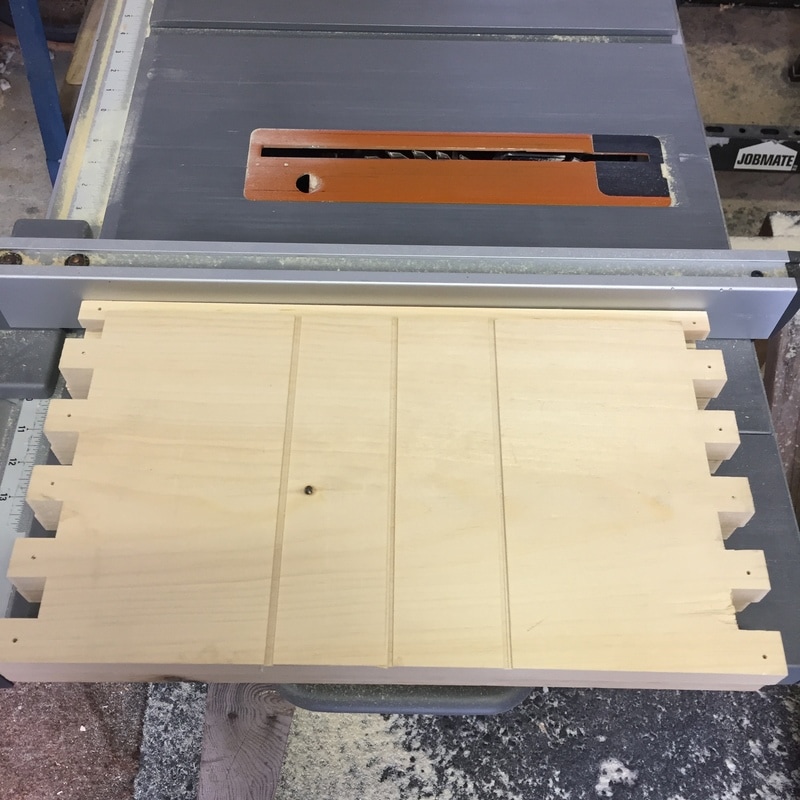
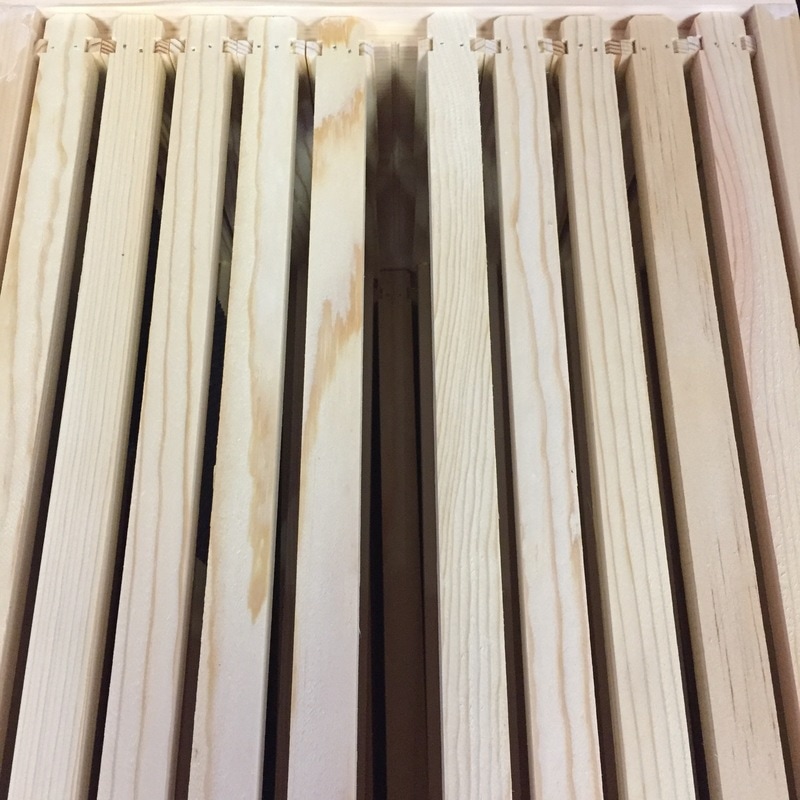
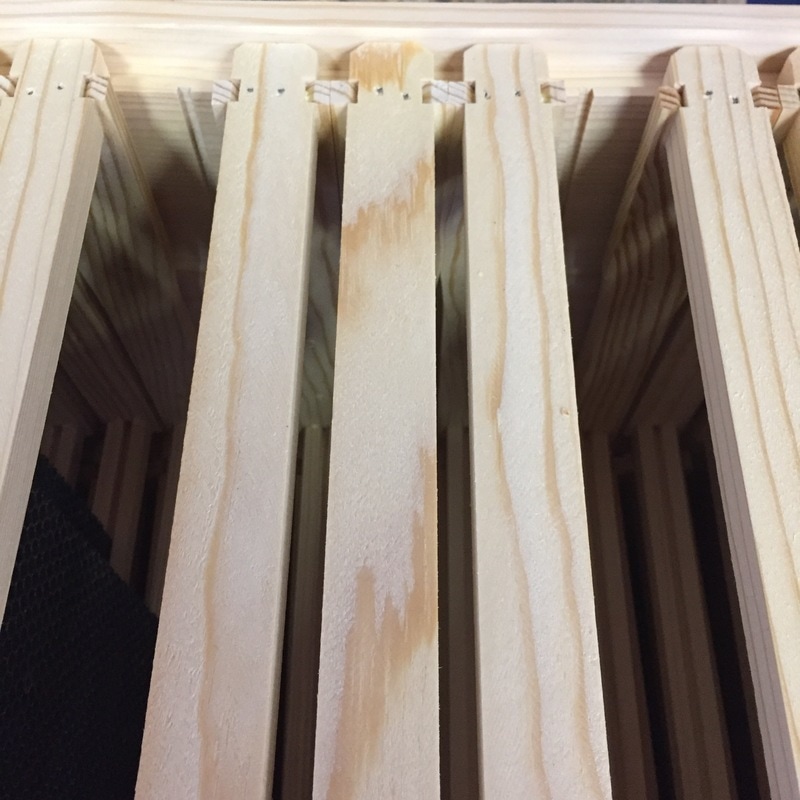
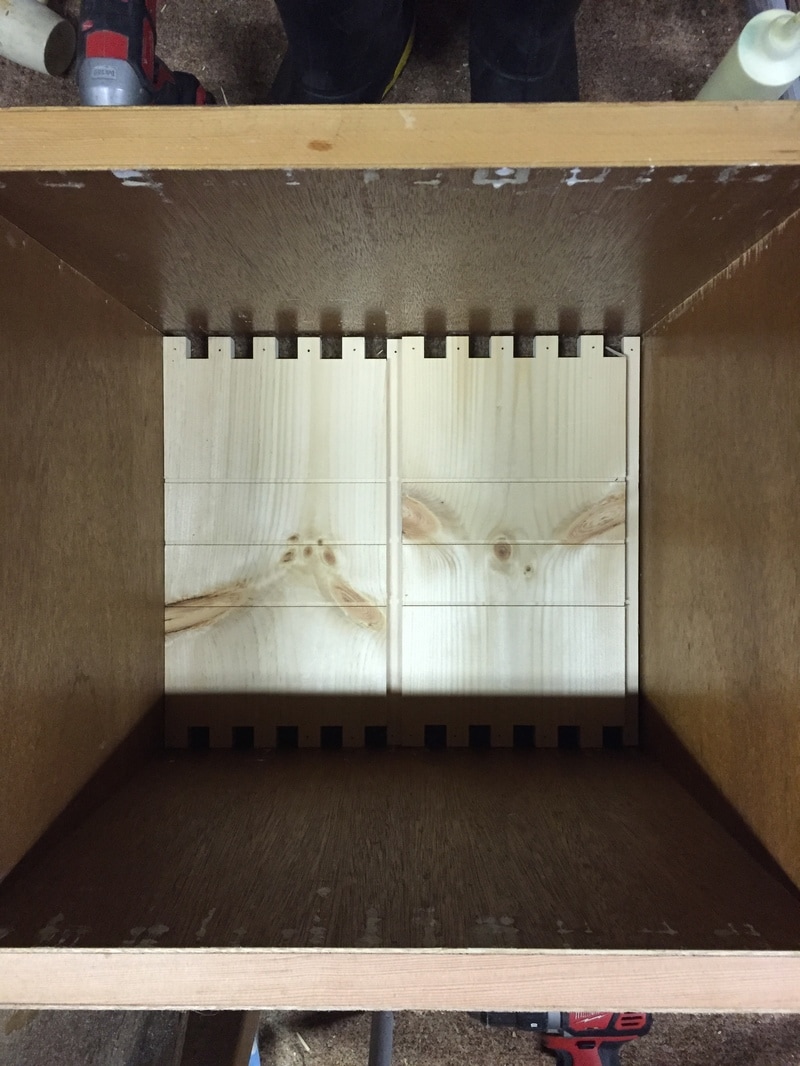
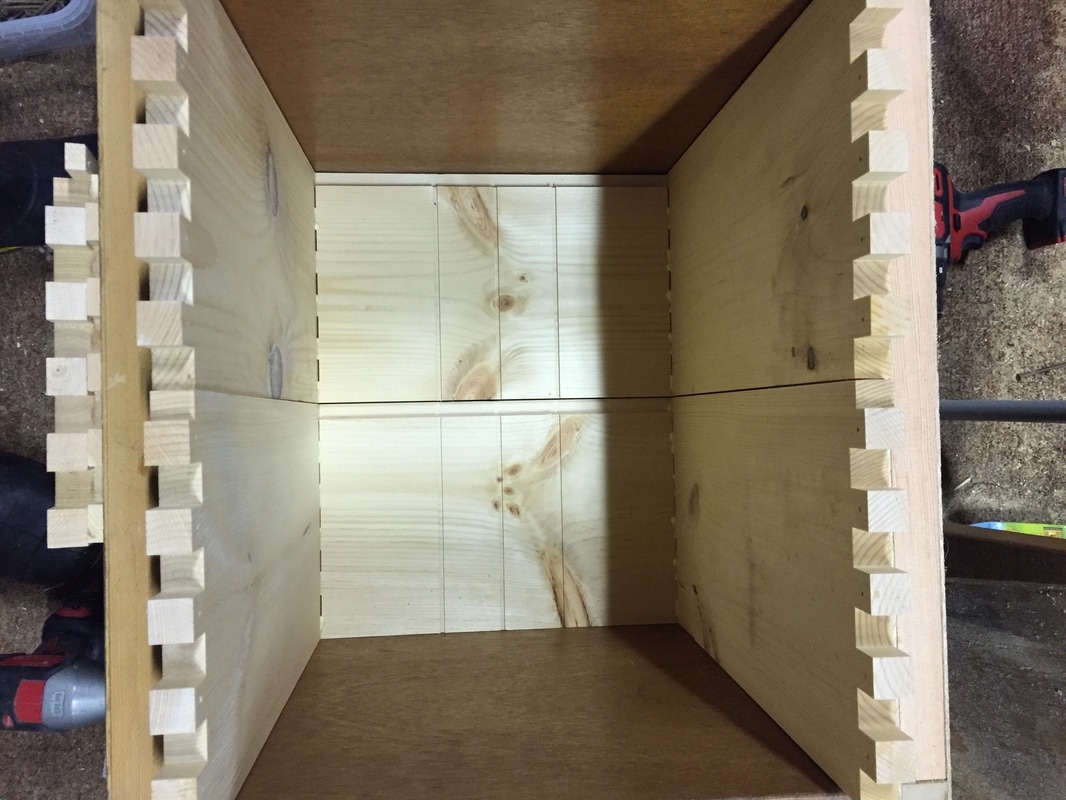
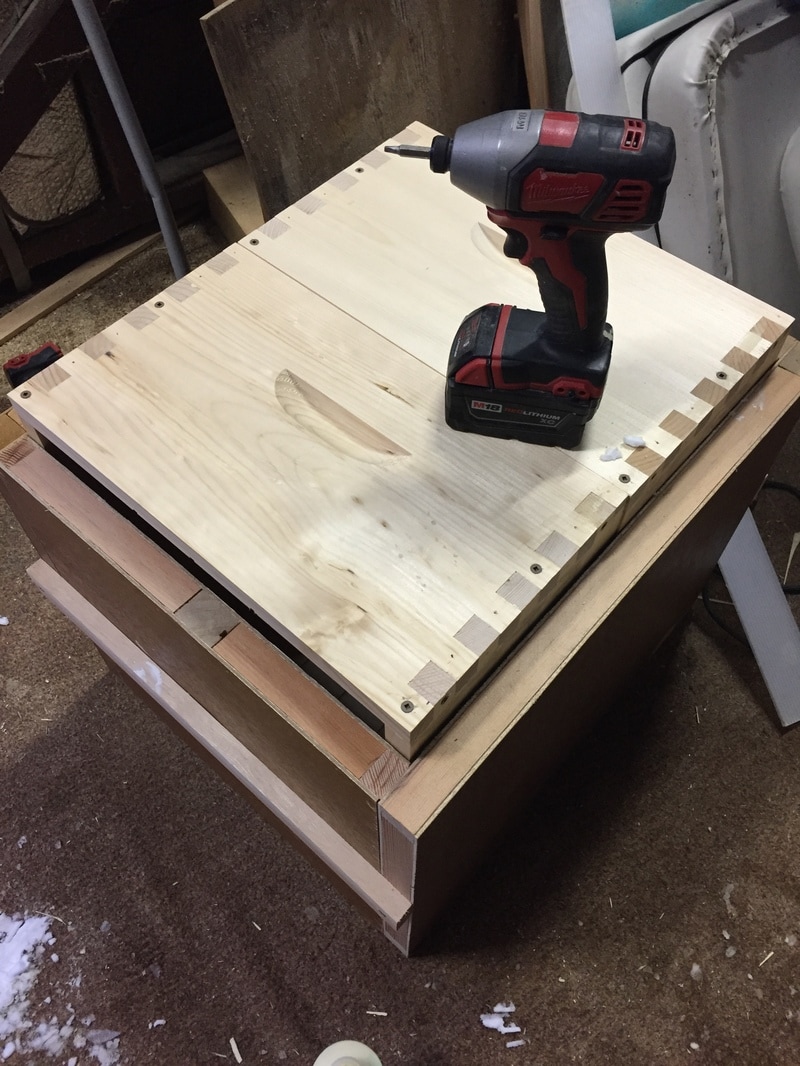
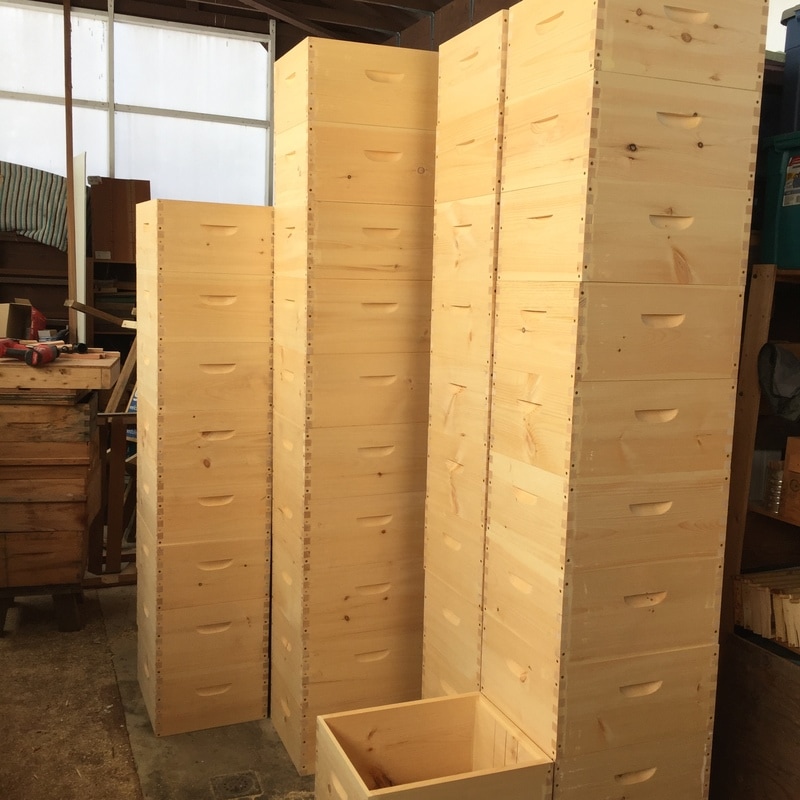
We had a lot of hive bodies to assemble this winter season, in preparation for the nucleus colonies we are buying to boost our numbers this year. Because we are just starting into a slightly larger-scale operation (don't quit the day job though!), we are figuring a lot of things out as we go. Something we have been considering about trying to raise chemical treatment-free bees that can survive Canadian winters, is that our equipment needs to support our bees (and be versatile enough for our growing apiary). We need to expect larger winter die-offs than we might if we treated our colonies with chemicals, and plan to winter more colonies than we will need for our operation to replace colonies that perish over the winter. So we want to be able to configure our boxes to accommodate a full sized colony, as well as multiple colonies in one box. In the past, we've built everything out of rough local cedar, but this year we are expanding too quickly to source and mill all that lumber ourselves. Winter is cold here compared with south of the border, and the 5/8" woodenware we typically see for sale from large US distributors like Mann Lake are not as well suited here. We sourced 7/8" woodenware from a Canadian company called 'Propolis etc.' and we are pretty happy with their product. The 2/8" thicker hive bodies are a little better insulating, which won't matter as much for our full sized colonies, but may make a world of difference for overwintering nucs. So before assembling any boxes, we run the inside of each hive end (the pieces that the frames will rest on) through the table saw a few times to create some division board grooves. These grooves will later allow us to configure each box into 1, 2, or 3 separate colonies with the addition of division boards cut to fit the grooves. This step is a pain, but now each of our new boxes can be used for making/wintering nucs, mating/banking queens, or as a standard hive body. In the case of a 3 colony box created by adding two division boards, we will have to use a different hive bottom, or integrate upper entrances. Once all the grooves had been cut, we finally began assembling the boxes. Three boxes into the assembly, we realized there must be a better way. We use an assembly jig for the frames, and the same idea can apply to these commercial boxes (because everything is milled to be very nearly identical, unlike the rough cut cedar I'm used to working with). It's not perfect, but this box assembly jig I threw together helped keep things straight and square, and allowed for the construction of two boxes at a time (more would begin to get heavy/awkward to flip and rotate). I sawed up an old semi-hollow interior door that was nice and light but surprisingly rigid for this assembly box. The concept is simple enough- if you build your jig perfectly square and to the right dimensions for a tight fit, the hive bodies you assemble within the jig will come out right almost every time. We glue each finger joint, and then use a rubber mallet to persuade the joints together. We did decide to use some long screws to pull the finger joints together even tighter, before adding nails to the remaining finger joints. You could definitely get good results just with nails, or using clamps, but we liked the way the screws fixed any warping or cupping in each piece (especially since we will plan to slide division boards into those very shallow grooves we mentioned earlier. This was about half-way there. Just a couple coats of paint left to apply, and then we have 75 versatile boxes to support our growing operation. Now we just need the snow to stop falling so we can put these to use!
3 Comments
9/25/2023 05:36:05 am
Fantastic content! It's evident that you put a lot of effort into making it valuable for your readers.
Reply
10/12/2023 06:25:00 am
Excellent blog post, keep up the great work
Reply
7/17/2024 05:13:51 am
The content is thought-provoking and sparks meaningful discussions. It encourages critical thinking.
Reply
Leave a Reply. |
AuthorMichalina and Darwyn are beekeepers on Vancouver Island, BC, Canada. Archives
January 2018
Categories |

 RSS Feed
