
|
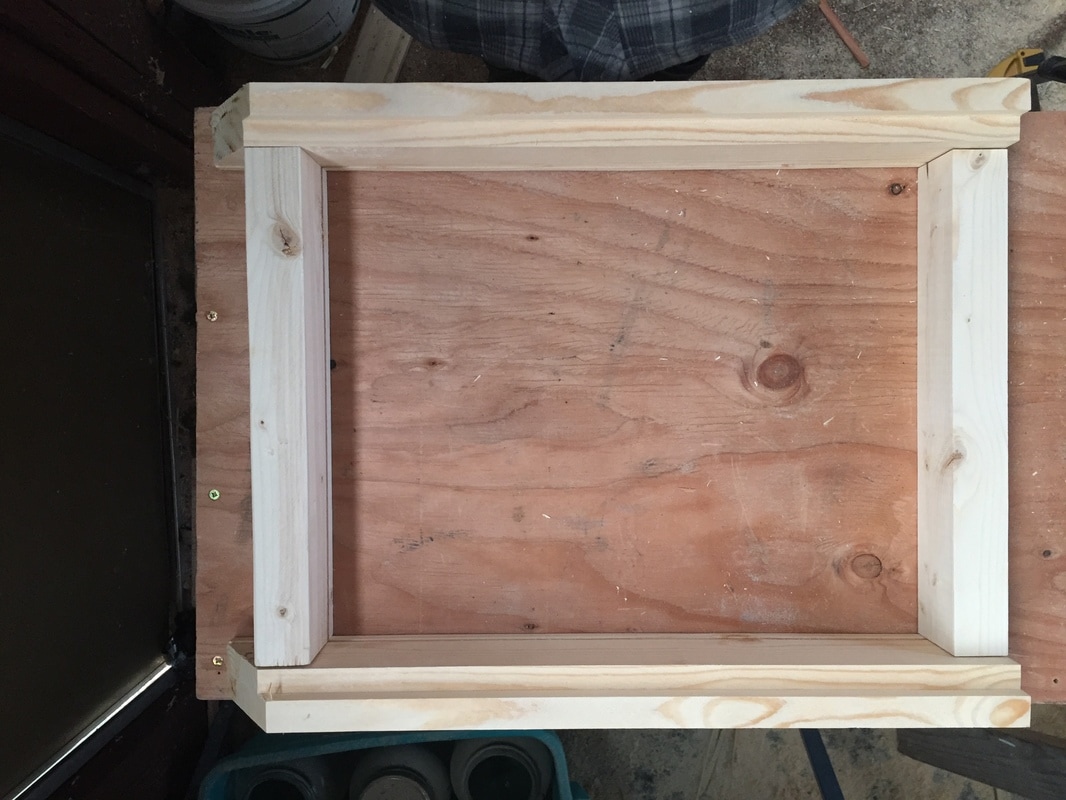
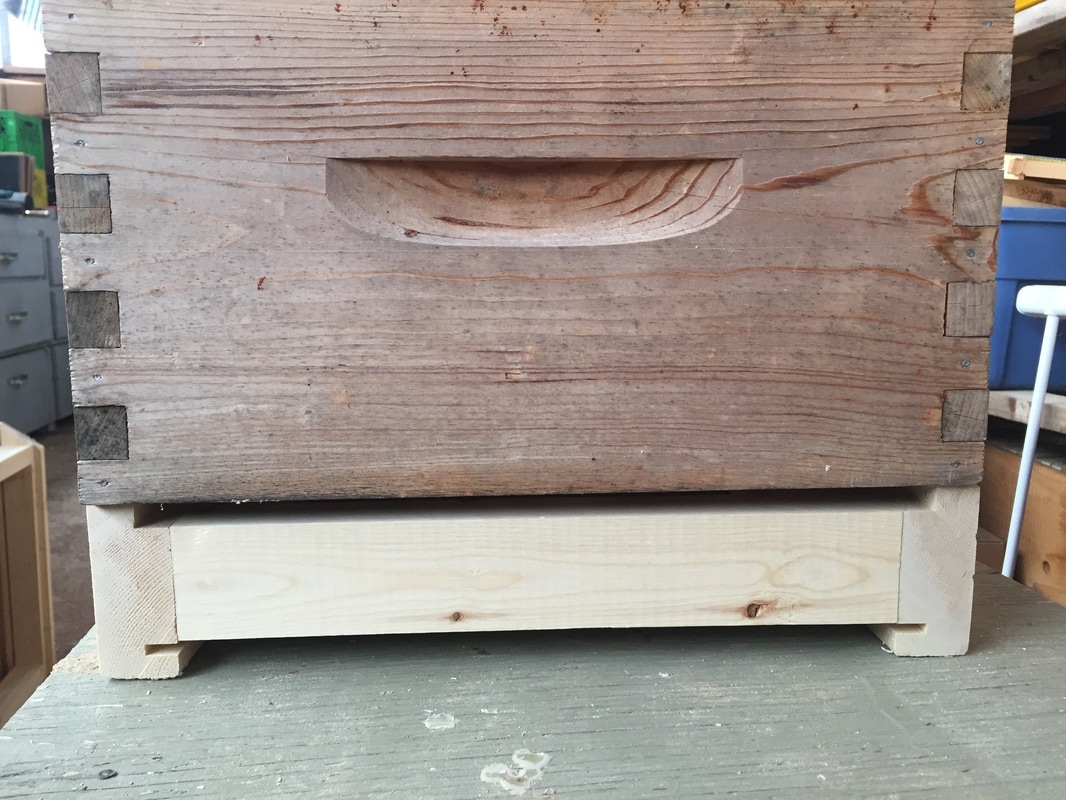
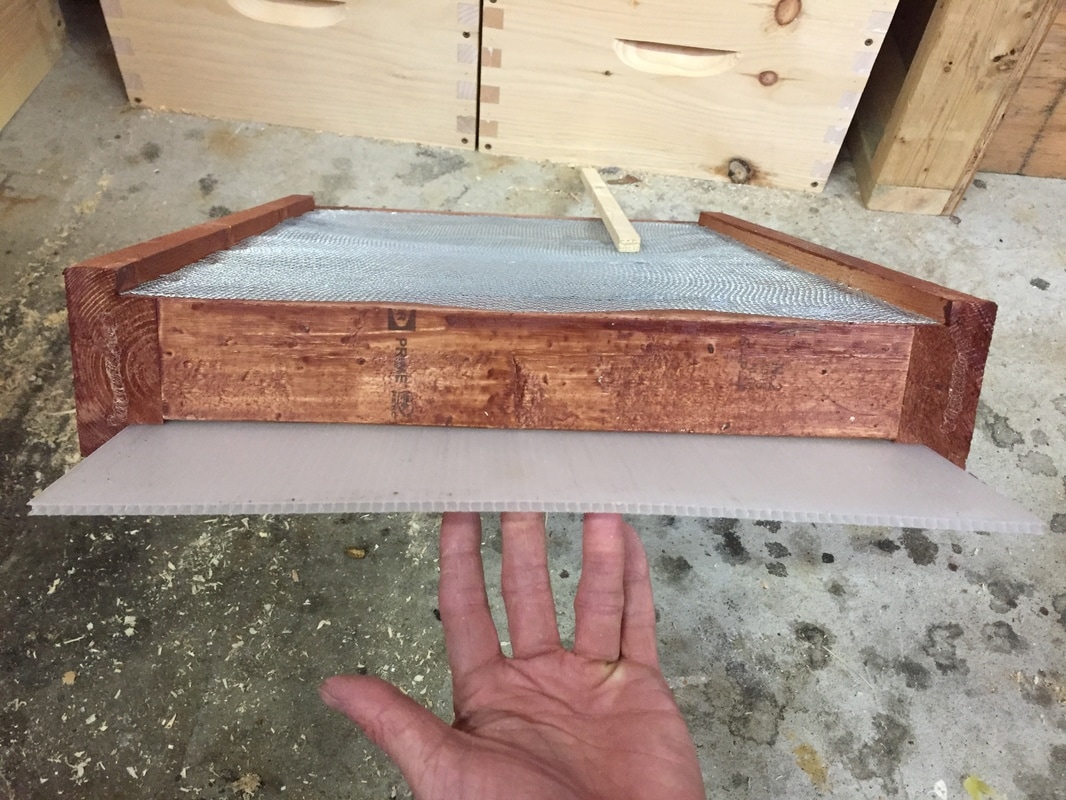
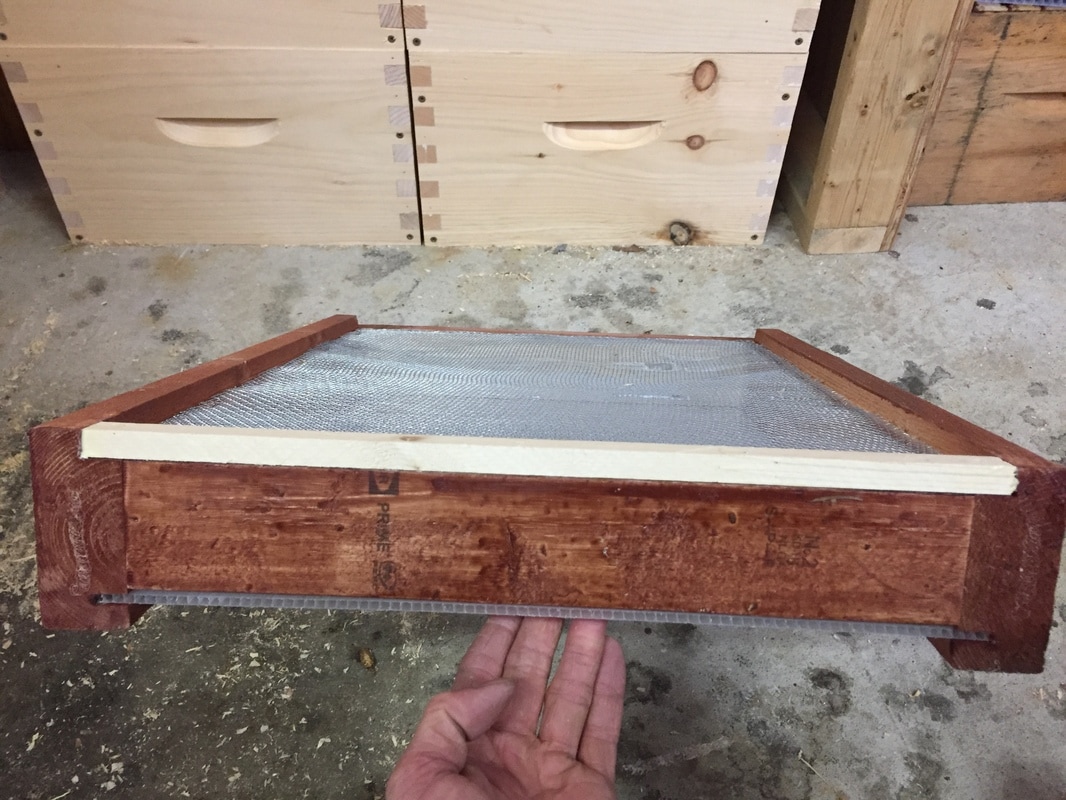
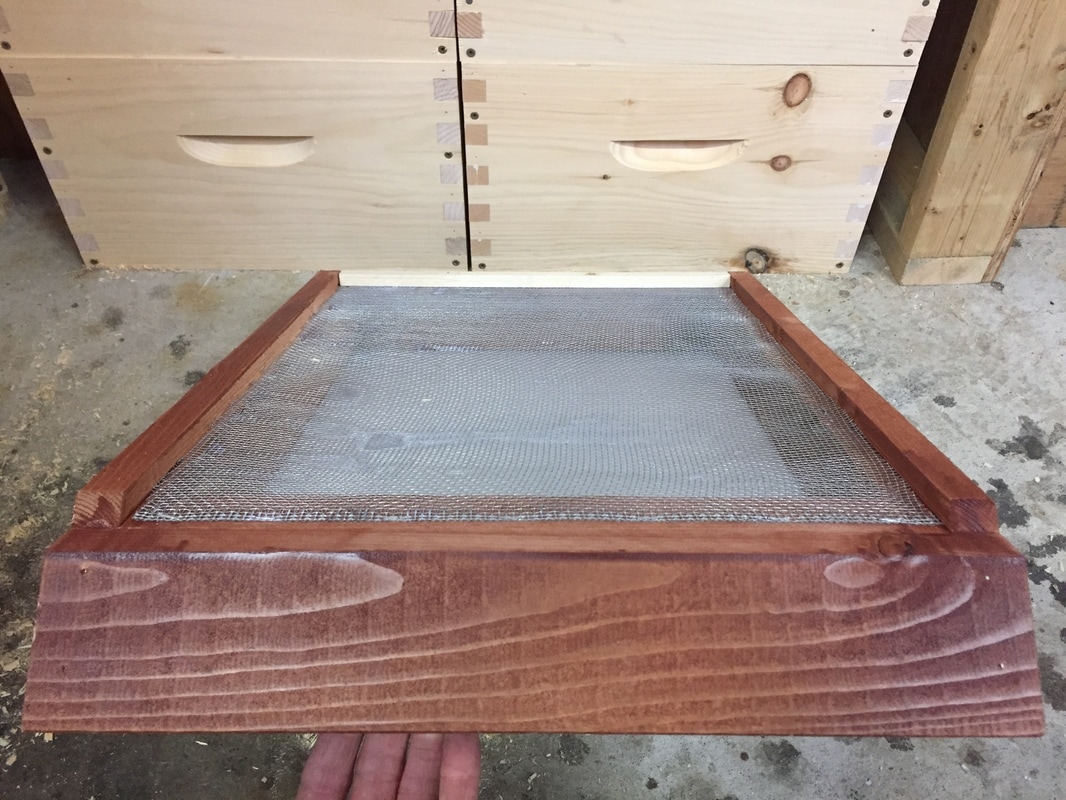
The debate for and against screened or solid bottom boards is ongoing. Certainly there are articles supporting the use of one over the other, and as usual there are many considerations to be made about the climate and geographical location of your bees, as well as the management practices of individual beekeepers. In our Langstroth hives and nucs we use solid bottom boards, solid bottom boards with slatted racks, screened bottom boards, screened bottom boards with slatted racks, and compare what we like or don't like about each. There are a couple of advantages to Screened BB, like ventilation and more passive monitoring of Varroa, but one big advantage whether you treat or not is the mites that become dislodged through grooming behaviour, icing sugar dusting, or chemical treatment, fall through the screen and don't make it back. Solid bottom boards would seem to encourage resistance to treatment through the survival of any mites that were dislodged but recover and are allowed to crawl back onto combs/bees. Still, there are plenty of folks that report no significant increase in winter survival comparing Solid BB to Screened BB, and many beekeepers that have previously used Screened BB are switching back to Solid. Screened bottom boards can be a real pain to sterilize, are generally more fragile, heavier, and take up more storage space compared to Solid BB. Screened BB are generally going to cost more to buy, and if you're building them yourself they're going to cost more and take more time to construct than solid BB. This post is not intending to persuade you to use either style of bottom board! There are many designs for making Screened Bottom Boards online, and this design may not be that different from many, but sports a few features that we wanted for our wet Pacific Northwest seasons. We wanted our bottom boards to meet several requirements: 1. Sturdy construction using inexpensive materials. 2. Reduce the exposed parts of the bottom board that rain and snow can accumulate on. Sloped landing board for rain and snow runoff. 3. Distance between screen and sliding insert must be 2+ inches to increase mite mortality. 4. Sliding insert for monitoring mite drop and adjusting bottom ventilation- must slide out the back of the hive. Not the side where another hive might be in the way, or the front to needlessly disrupt the flight of foragers. Must not hang out of the bottom board when fully inserted. 5. Easy to build using only a table saw, chop saw and screws.
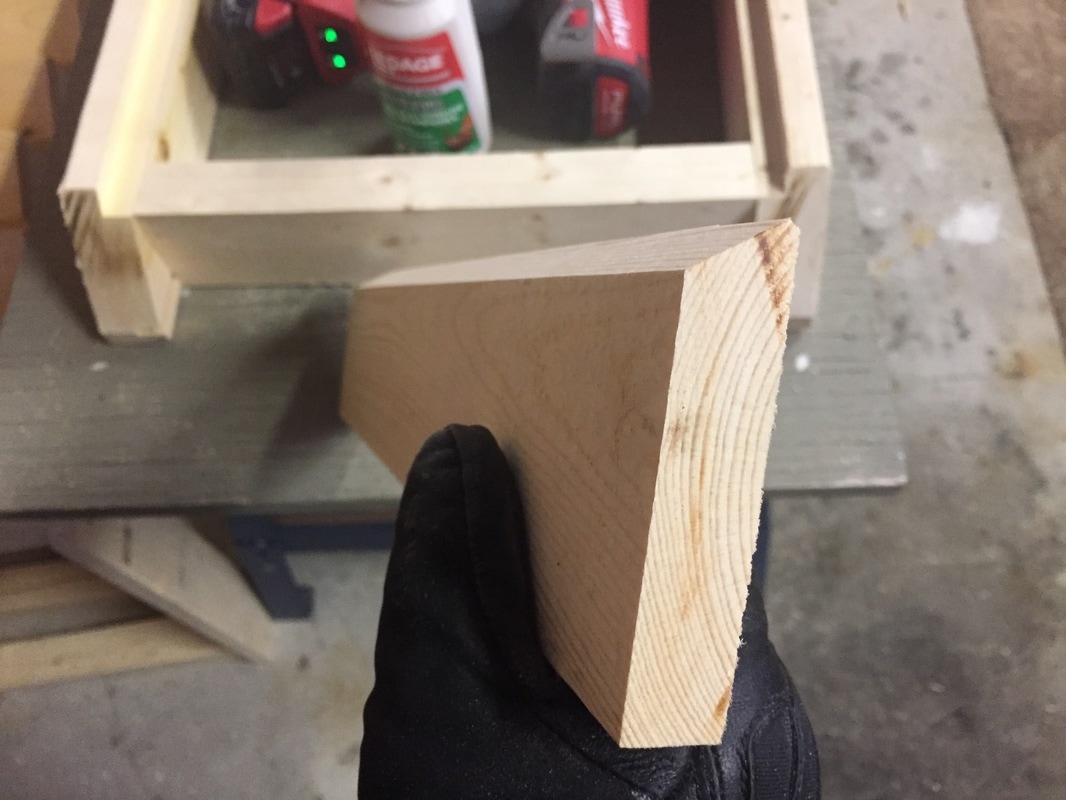
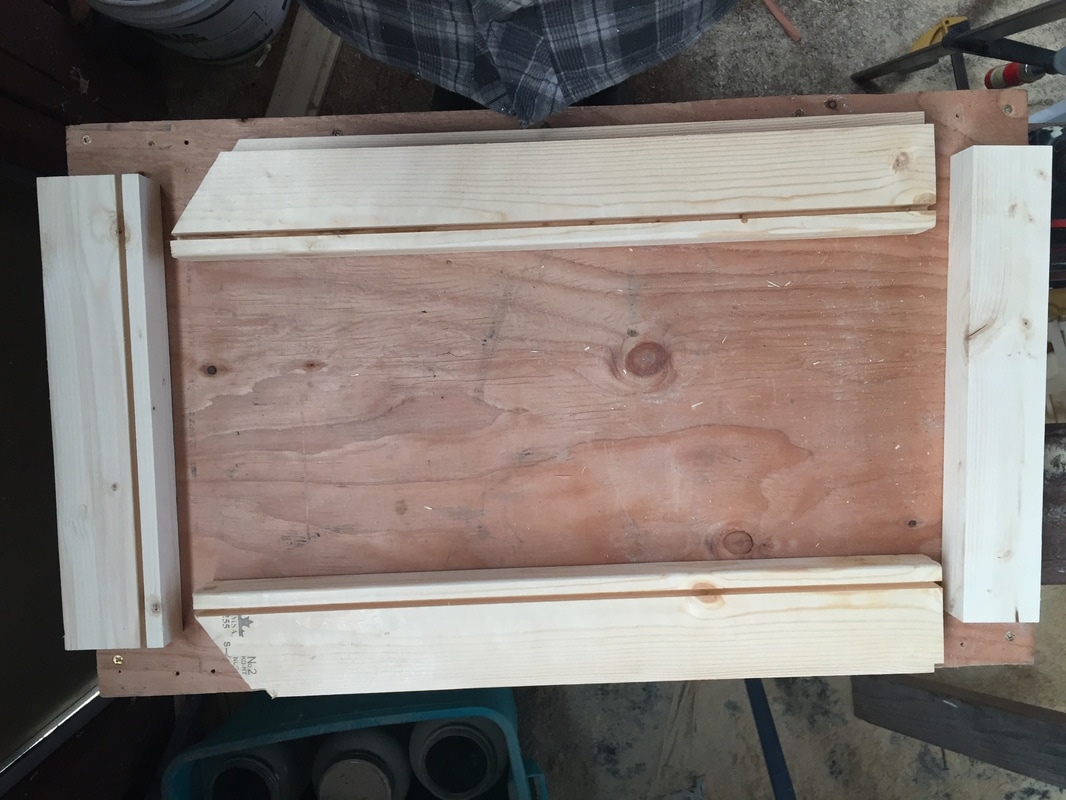
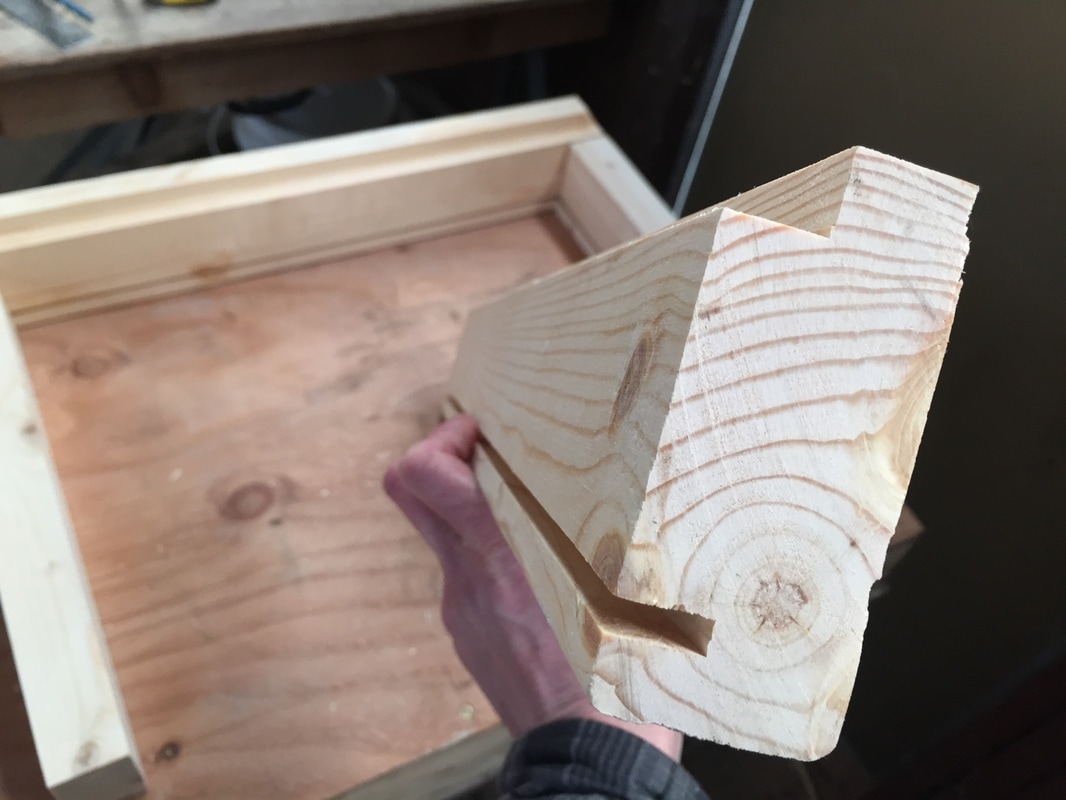
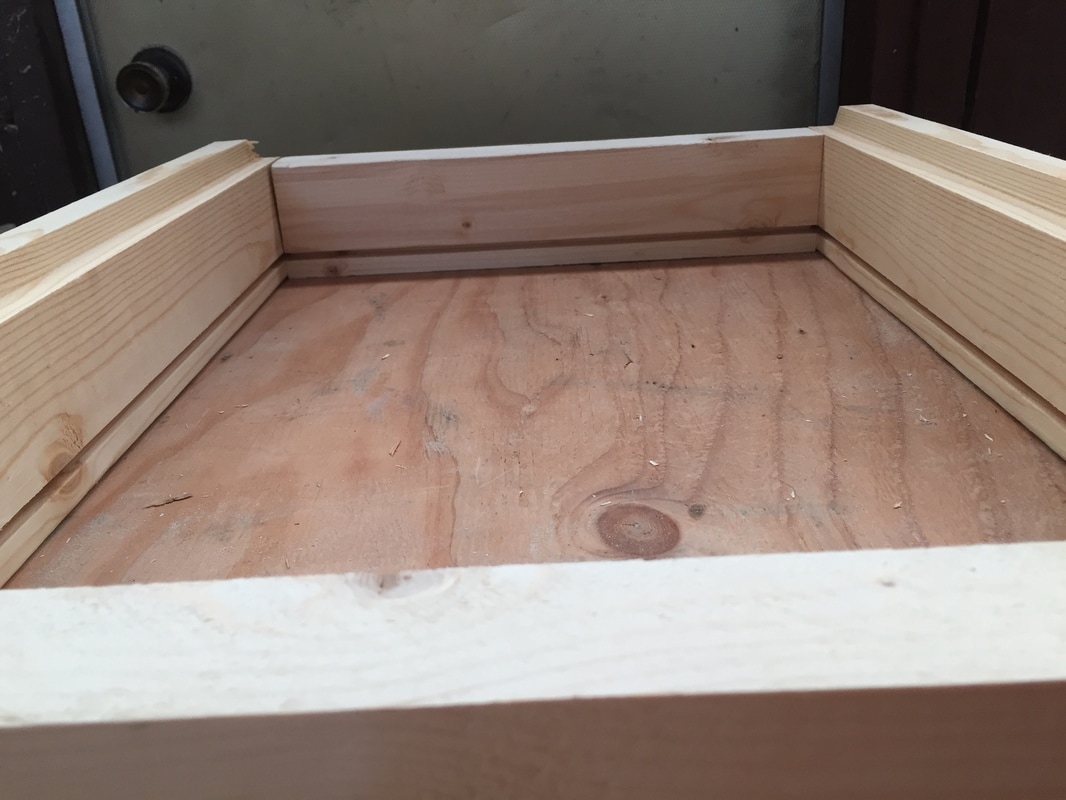 Make sure the grooves all line up perfectly, chloroplast has a hard time sliding into the grove at the front of the stand if it doesn't line up well.
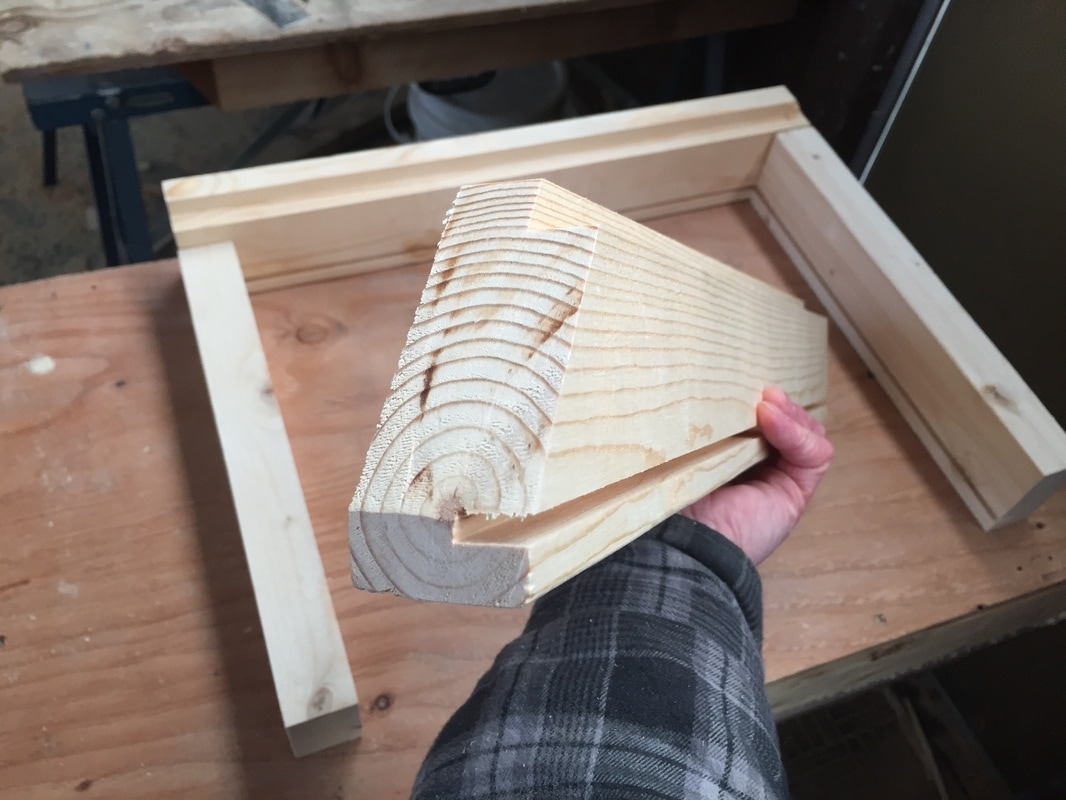
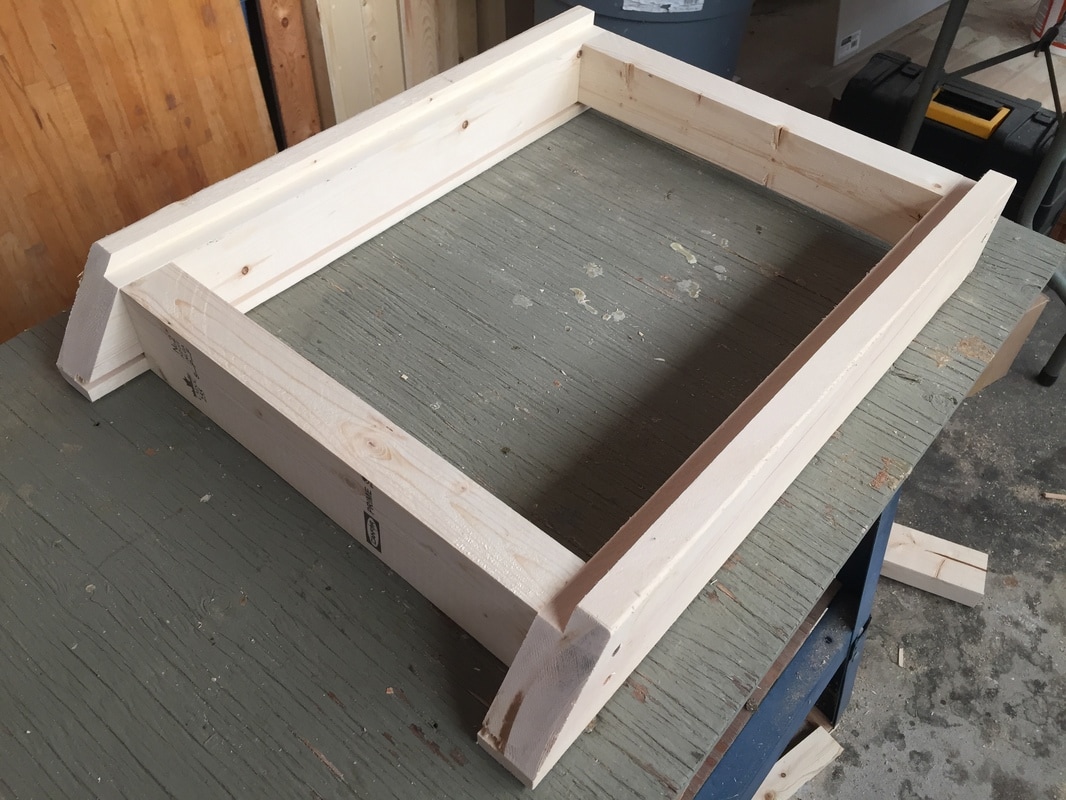 Mostly assembled here, using 8 screws 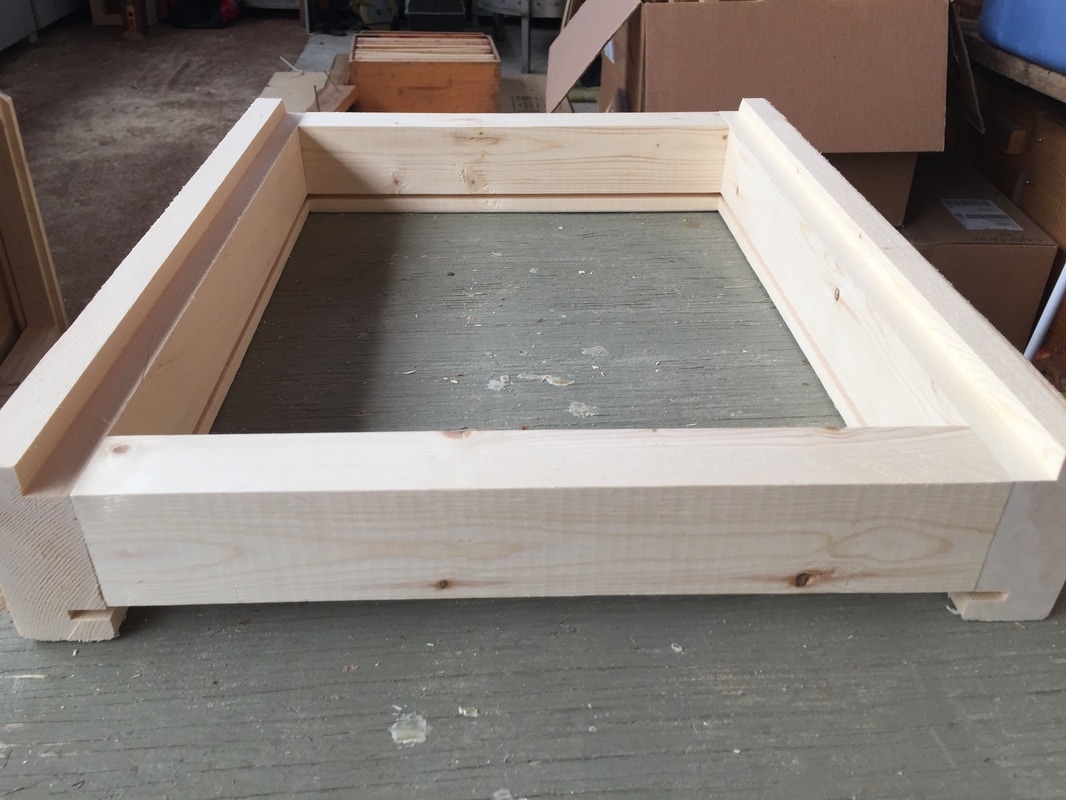 Starting to look like it should
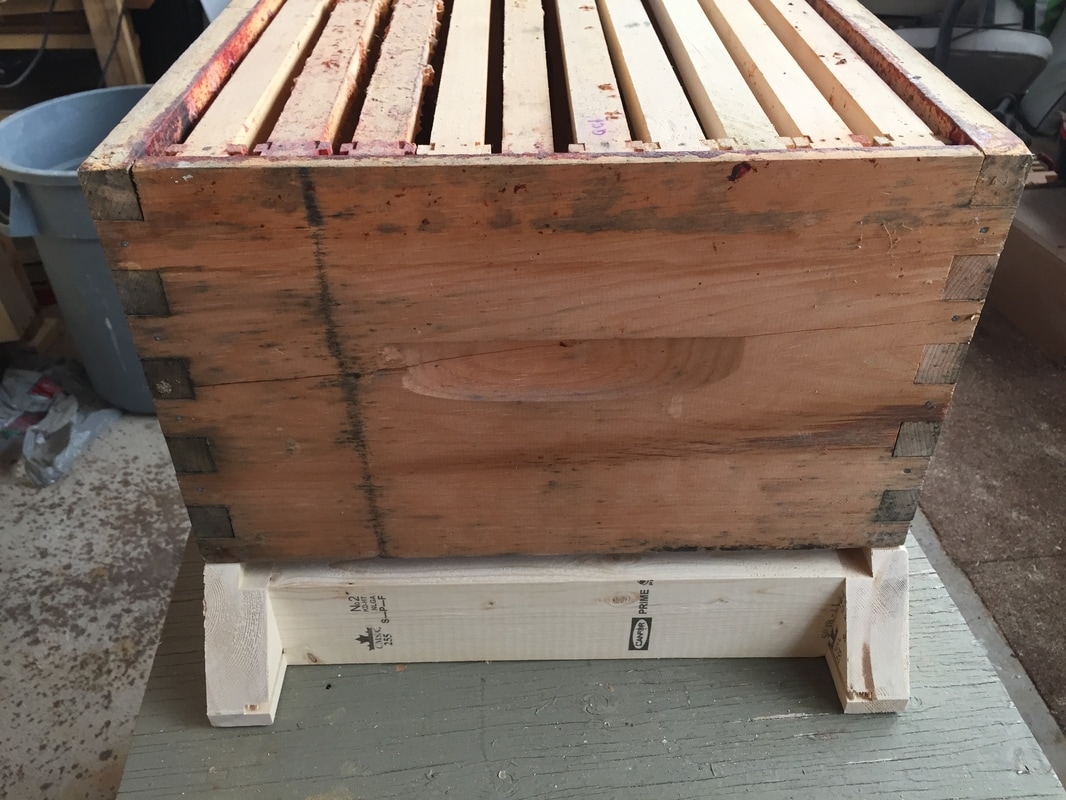
 Landing board cut to size  Landing board glued and nailed in place 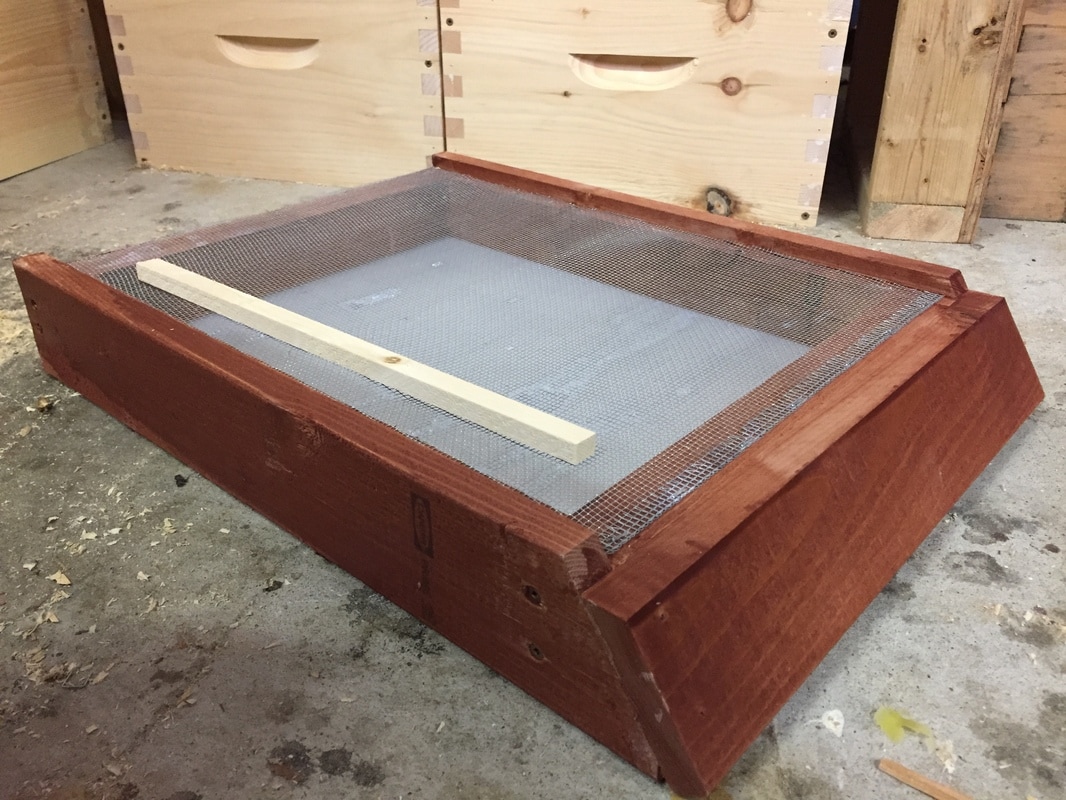 Stained, and #8 hardware cloth stapled in place. This little strip of wood was cut to dimension and will be placed along the back of the stand over the screen. 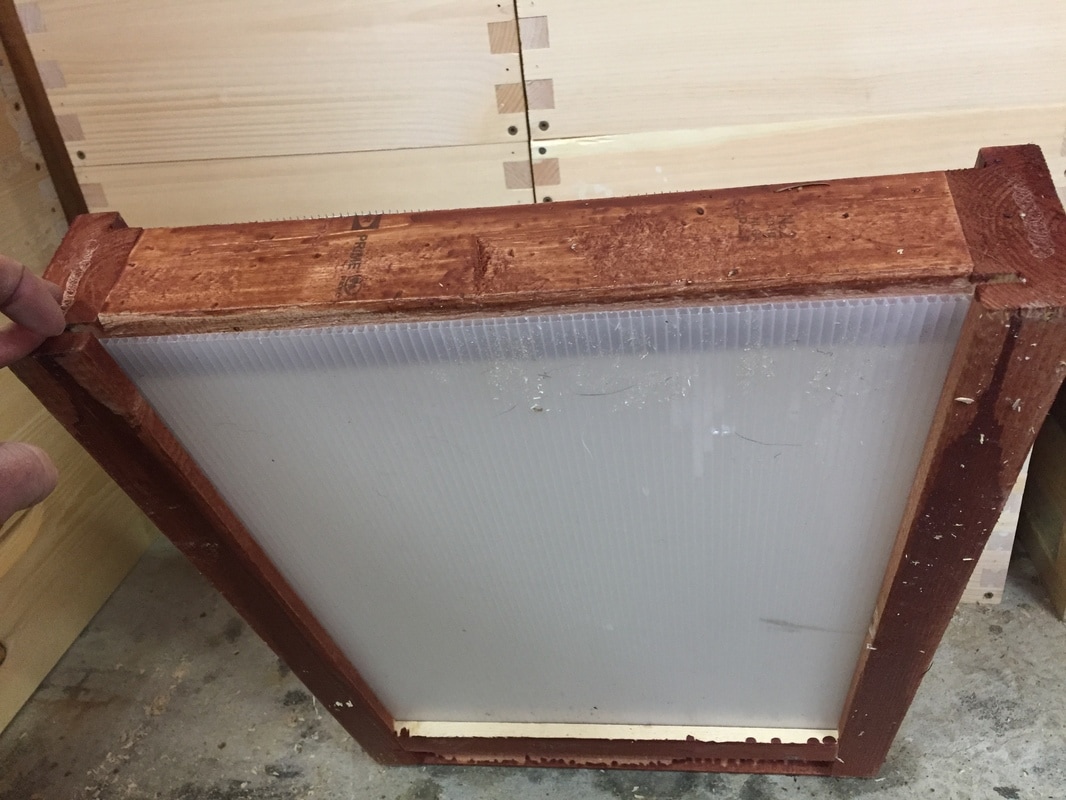 Underneath the hive stand, with chloroplast tray cut to size and fully inserted
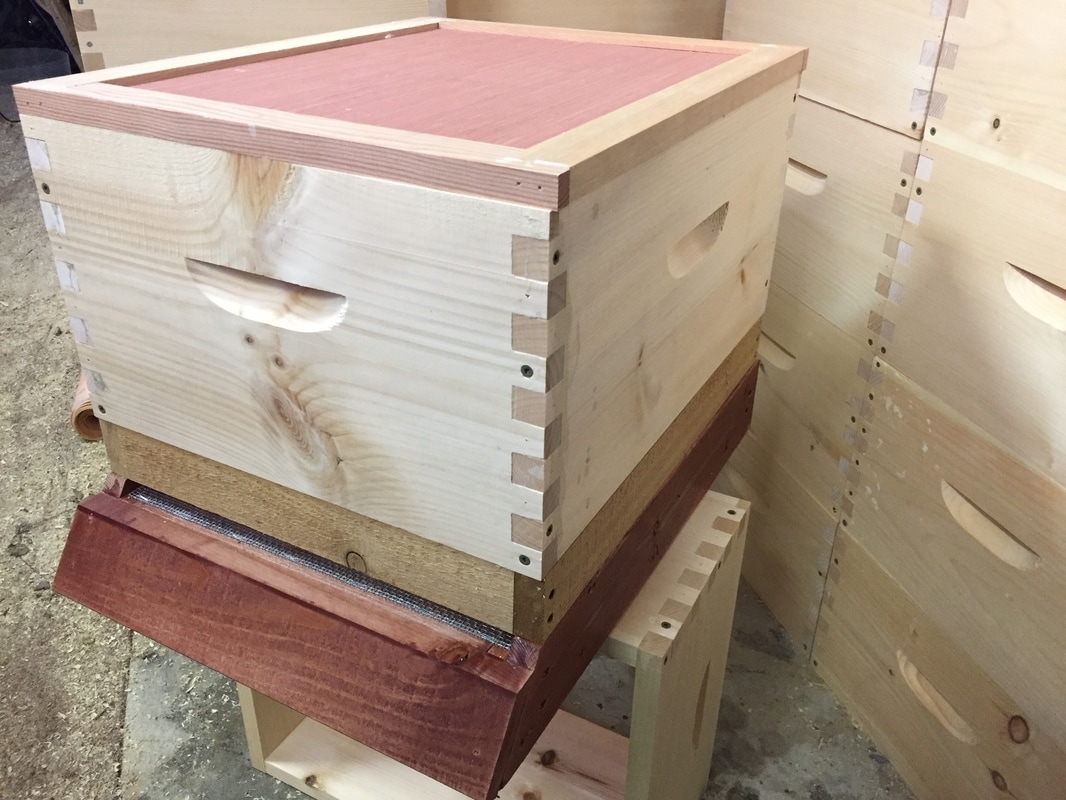 The finished product with slatted bottom rack, hive body and inner cover (that doesn't yet have ventilation holes cut). Working with scraps of material left over from other projects, these stands were relatively easy to produce. I did 25 of these for this season, and they feel sturdy enough to last a good while as well as hold up under the heavy stacks of honey we have to be optimistic for!
Considering that screened bottom boards constructed with similar components are available for purchase (not at wholesale prices mind you) for over $30CAD- making 25 of these out of scrap wood and purchased a roll of #8 hardware cloth, screws, nails, glue, and mis-tinted wood stain, I think I easily saved $20 each. Yes, that's a savings of about $500, with very conservative calculations. They did take a few afternoons of work to build, but I feel happy enough with this product already.
2 Comments
9/22/2023 05:49:35 am
Thanks for sharing this valuable content. It's exactly what I was looking for 10/17/2023 06:10:34 am
The visuals and images used in this blog enhance the reading experience. They're visually appealing. Leave a Reply. |
AuthorMichalina and Darwyn are beekeepers on Vancouver Island, BC, Canada. Archives
January 2018
Categories |
 RSS Feed
